Email Setup - Eudora 5.2 for Mac OS 9 These instructions will help you configure Eudora 5.2 for Mac OS X to get BlueLight Internet email. - Open Eudora from your Applications folder.
 - If you already use Eudora and need to change the configuration settings for BlueLight Internet, skip to step 5.
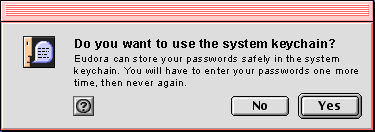
- If you are using Eudora for the first time, you will be asked if you want to use the system keychain to remember passwords. If you want to do this, click Yes.

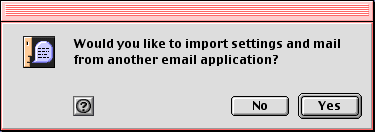
- If you are using Eudora for the first time, you will also be asked if you would like to import settings and mail from another email application. To ensure that your settings will be correct for BlueLight Internet, click No.
 - The Settings screen will appear for first-time users. If you have already used Eudora and are changing the settings for BlueLight Internet, you will need to go to the Eudora menu and select Preferences to access the Settings screen.

- In the box next to Username, enter your full email address (ie: memberid@mybluelight.com)
- In the box next to Mail Server, enter pop.mybluelight.com
- In the box next to Real Name, enter your full name.
- In the box next to SMTP Server, enter smtp.mybluelight.com
- Click the SSL icon in the Settings window.
- In the Secure Sockets Layer section select Required STARTTLS next to SSL for SMTP.
- Click OK to save your settings.
- Exit Eudora and reopen it before using SSL for the first time.
NOTE: You must be logged on to BlueLight Internet in order to successfully send BlueLight Internet mail.
Note: Due to limits placed on your mailbox, you must complete the following steps to prevent your mail from being blocked or deleted.
- From the Eudora menu, select Preferences.
- Select the Checking Mail category to the left.
- Under the Mail Management section, make sure that the box next to Leave on server for _ days is left unchecked.
- Click OK to save.
| |
